Email Autoresponders
Going to be out of the office for a while? Create an autoresponder to let people know when you’ll be back!
Creating Autoresponders
1. Log into your webmail
Navigate to yourdomain.com/webmail (replacing yourdomain.com with your website url).
Login using your email address and existing password.
2. Select Webmail Home
From the left-hand menu, select Webmail Home:

3. Select Autoresponders
Select the Autoresponders section from the provided options:

4. Add Autoresponder
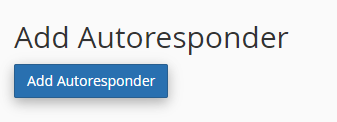
Click the blue Add Autoresponder button:
5. Set the Send Interval
Choose how frequently you would like your autoresponder to send to the same email address.
Examples:
If you would like a person to receive the responder every time they send you an email, set the interval to 0.
If you would like a person to receive the responder once in an 8 hour span, set the interval to 8.

6. Create the Autoresponder Content
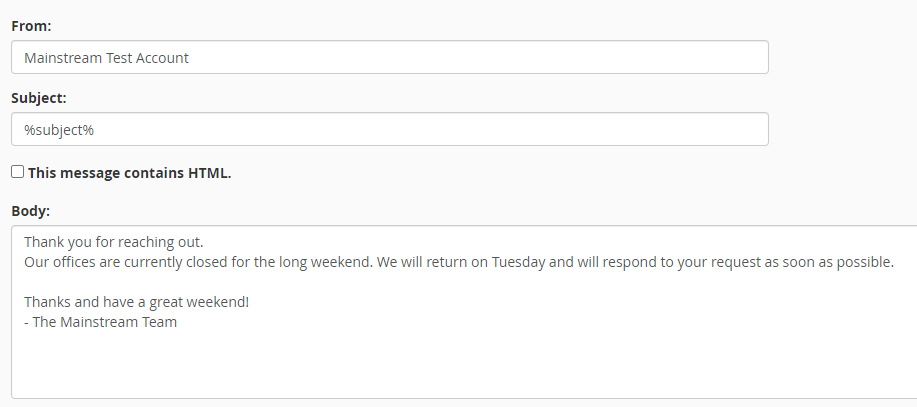
Enter the From name, Subject, and Body copy into the provided fields.
You may also use the following shortcodes to pull information from the email that triggers the autoresponder:
%subject% The subject of the message sent to the autoresponder.
%from% The name of the sender of the message received by the autoresponder, if available.
%email% The incoming email sender’s address.
7. Set Start and Stop Dates
Set the rules for when you would like the Autoresponder to send.
Start:
Immediately: Start sending the Autoresponder as soon as the settings are saved.
Custom: Set a specific day and time to start sending the Autoresponder.
Stop:
Never: Continue to send the Autoresponder until it is deleted.
Custom: Set a specific day and time to stop sending the Autoresponder.

8. Create
Click the blue Create button to save your Autoresponder.
8. Edit / Delete Autoresponders
Return to the Autoresponders section from the Webmail home screen, and use the Edit or Delete options to update or remove your Autoresponder.


